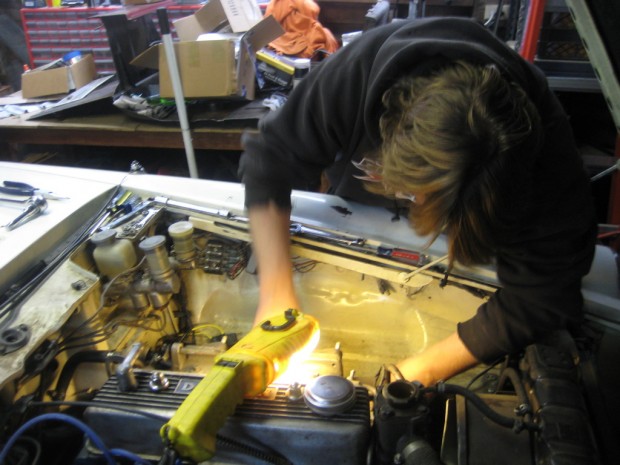
Mike - AKA Exit64 - gets busy on the intake
Well we all know how this one goes: you start out checking the air in the tires and before you know it, there is a new set of Panasports wrapped in fresh rubber on the project car. “While-you’re-at-it-itis”. My friend Jeff calls it “shipwright’s disease”. It starts with a burned out bulb, which leads to a new light socket, that leads to new wiring, which means a new ceiling, and so on.
It’s one of the hardest things to deal with when bringing an old car back to life. You want to make things right, mostly so you can eliminate stray variables. If you fix things as you come across them, then you know they are done and you won’t be caught by surprise. The hard part is figuring out when to stop and not get carried away. Usually that is determined by budget and the amount of time you can have your baby up in the air. If time and money are no object, it can be years before the car sees the light of day – but it will be damn nice.
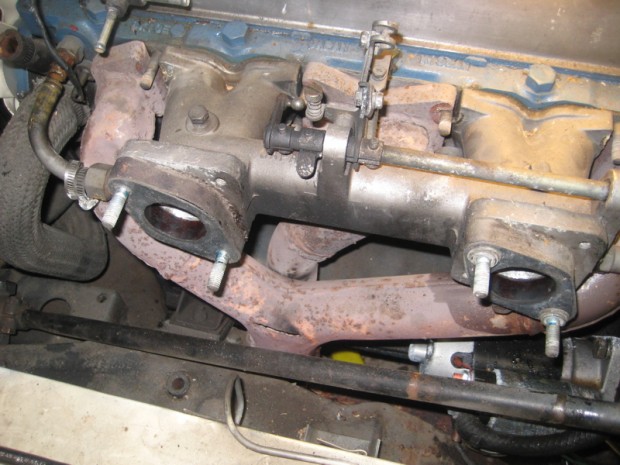
After doing some poking and prodding on the H20 roadster, it became obvious that the exhaust manifold had to be replaced. It was glowing red after just a few minutes of running and was making a horrible “popping” noise. There were quite a few cracks that were letting fresh air into the exhaust and fueling a near meltdown. Luckily there was a nice aftermarket header on the shelf downstairs in the reliquary (read Datsun parts hoard).
Now to get the exhaust manifold off, the intake has to come off. Which means the heater needs to be disconnected – the coolant runs through the intake to keep the carbs warm (it’s an old-fashioned notion). To get to that the carbs need to come off. But first you have to drain the radiator.
At that point you have to decide whether or not to pull the heater out and see what kind of shape it’s in. Some cars are built around the heater – you almost wonder if the first part on the assembly line was the heater and everything else was added later – Volvo 140 and 240-series come to mind. Luckily the roadster is not that bad, but the under dash console has to come out, along with all of the cables to operate the heater, defroster and fresh air vents. Of course-we’re trying to replace the exhaust manifold, remember?
I tend to err on the side of at least doing complete systems. If you mess with the front brakes, make sure to check the rear. And I like the engine to not overheat, and for the heater to make my feet nice and toasty. I live in Oregon and a heater is a must most of the year, even on a hot summer day it can get pretty cold at 70+ mph with the top down.
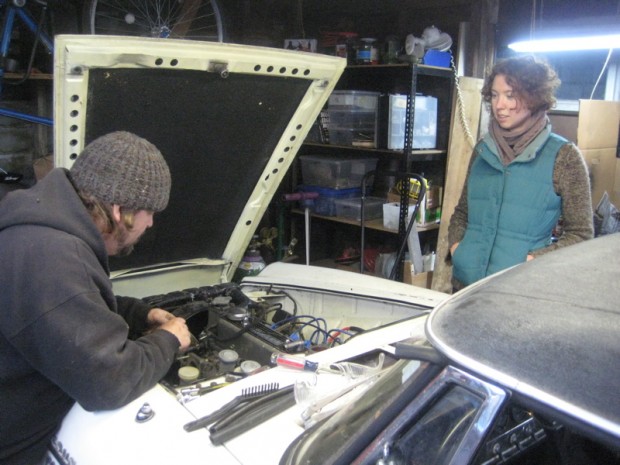
Mike and Amanda debate the merits of exhaust manifold ceramic coating
My friend Mike has been kind enough to come over for two work days so far to help get the car back on the road. Getting the carbs off was the usual torture, but it was interesting to find all-original 12mm nuts (modern ones are 13mm – roughly 1/2 inch).
The tear down is like an archeological dig-trying to figure out what has been done to a car over the last 40 or so years. This car is a mash-up of parts, but oddly enough, really original parts. Like charcoal in an ancient fire pit, braided cloth hoses tell me a lot about who has been under this hood before.

With the carbs and the intake manifold out of the way and the exhaust manifold unbolted, it was obvious that there was no way it was going to come out. The lower portion was wider than the space between the engine block and the frame rails. Unbolting the engine mounts and lifting the lump with a jack didn’t add any clearance – we ended up using the sawzall to cut the manifold in half just to get it out.
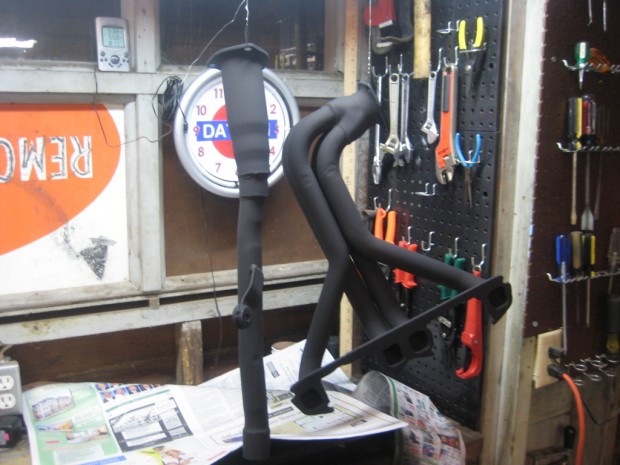
The “new” header was coated with VHT Flame Proof which is a ceramic-based paint that needs to be cured with a series of heat cycles. We’ll see how it stands up. Installation was a snap – we only had to take it on and off three or four times. We finally got the collector to exhaust pipe fitted and the manifold in place. While Mike buzzed up some holes in the under carb water tubes with a 110v welder, I removed the rest of the cooling system hoses.
Having the welder there to fix little things that came up was really great. I’m saving my pennies for a 110v MIG. Conventional wisdom says to only buy a Miller or Hobart 220v, but at over $1000, that ain’t gonna happen anytime soon. I also don’t have 220v in my garage – you can see how having to have the “perfect” set-up for welding becomes its own spiral of “while-your-at-its”. I’d rather have the use of a “lesser” tool than wait for the stars to align perfectly for the ultimate super-dooper overkill übertool. That said, I’m not going with the cheapest from Harbor Freight either.
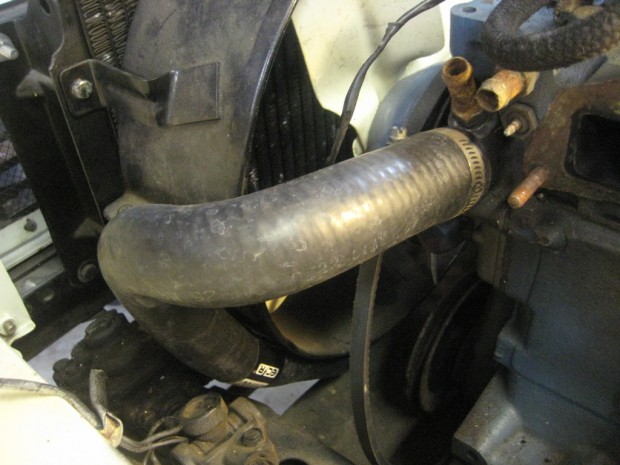
Molded radiator hoses for the 1600 are still available through specialist vendors, but I was able to make some substitutions and save a few bucks. The top hose is easy – the substitution is listed in the Napa Auto Parts book. The bottom, however, is a bit trickier – you need to find a place that carries Gates hoses and use this part number: 20783. When you put the new hose next to the old one, it will not look like it will work. Once in place, it works just fine for the low-window cars.
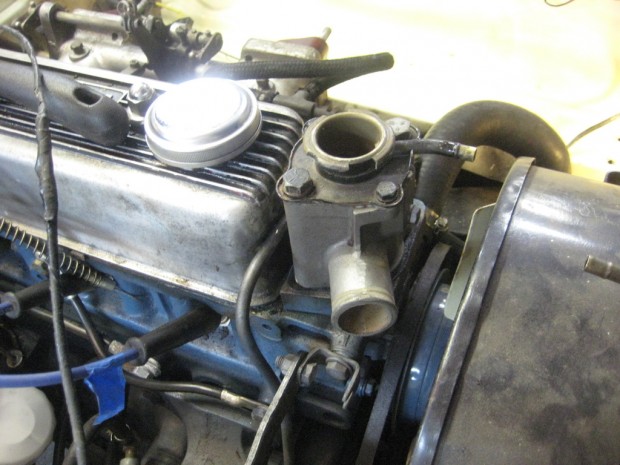
On to the water tower. As I became more familiar with the car, I started to notice that there were some differences between the R and H-series motors. The H head on this car (H and R heads are interchangeable) has a different attachment point for the alternator and a water neck that sticks out quite a bit as compare to the R. And this one had some strange hunk of metal over the thermostat. It wasn’t until I had it apart that I realized the metal hunk was an adapter that allowed the water tower to be in the same orientation as the R. Without it, the radiator hose would have to go through the fan. Pretty clever little adapter that someone made!

I also discovered that the car had no thermostat – no wonder it was a bit cold-blooded and took a while to warm up. Kids, remember do not run a car without a thermostat. If it somehow seems to solve a problem, you’ve actually got a much bigger problem!
The last of the cooling system travails was plumbing the heater. The heater valve is crammed behind the engine on the firewall, and the outlets on the heater core are 5/8″ while the manifold connections are 1/2″. So you have to step down the hose size, and, because of the tight space, do a few right angles on your way from the valve to the manifold. This is where factory-style molded hoses are a blessing. Unfortunately they are NLA. Bummer. Shoving generic 90-degree elbows and a 5/8″ to 1/2″ reducer in this tight space was not going to happen. I could have looped the heater hose around a few times and made everything work, but it just didn’t look right. I had to cut down the elbows and reducer to the minimum needed to make a decent hose connection. Much gnashing of teeth and 18 hose clamps later…
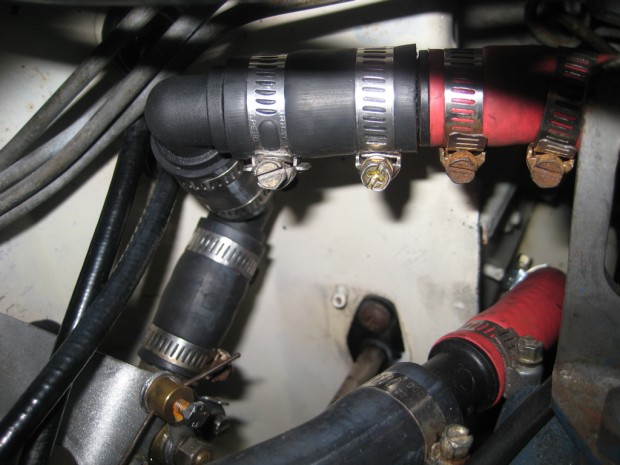
So, with exhaust manifold replaced and the heater all plumbed up, a dig through the auto parts store yielded a replacement for the stock defroster hose – generic carburetor pre-heater hose. Only $3! Heater fan put back in place and wired up.
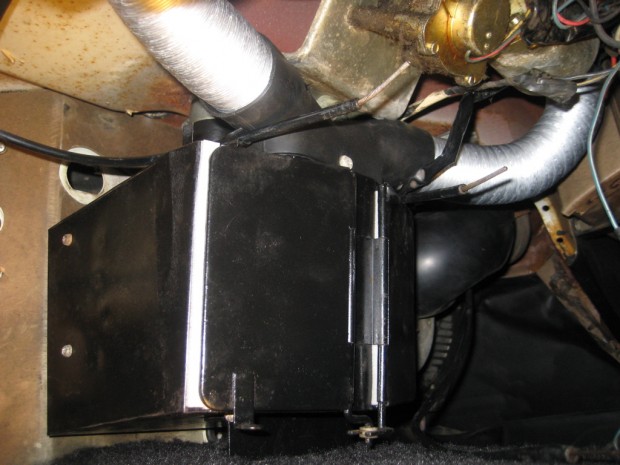
Center console back in, hooked up the cables for the vents and the heater controls, finally the radio and choke cables and hand throttle cable. We’re almost there!
The carbs were cleaned up and bolted to the intake, which takes some flexibility of the wrists and fingers – not to mention the ability to tighten hard-to-reach bolts while maintaining a torturous contortion and ignore the blood dripping from skinned knuckles. Stop. Breathe. Try again. Finally all in place.
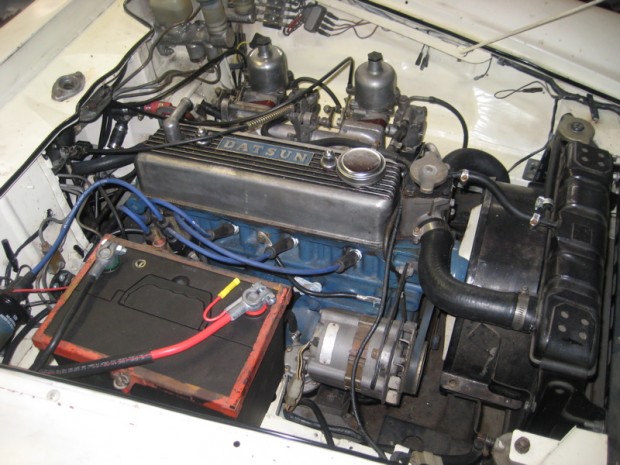
Time to fire it up! Twist the battery shut off switch and crank for a while to get fuel into the carbs….. and success! It’s running and sounds much better now that the header is actually moving the exhaust to the tailpipe. Idling fairly well. Time to check the hoses for leaks. Everything looks good as it comes up to temperature. The paint on the header smokes for a few minutes while it bakes on. Some quick tweaking of the carb linkage and butterflies and it idles nice and smooth – tach tool reads 800 rpm and the timing is on the money. Just a few more things and we’re almost ready for a test drive!
The air filter housing takes similar contortions to attach, only to discover the filter will not fit between the housing and the fender, so it comes off again. All-in-all, the air filter and housing take at least an hour to put back in place. Glad I’m not paying shop time for this!
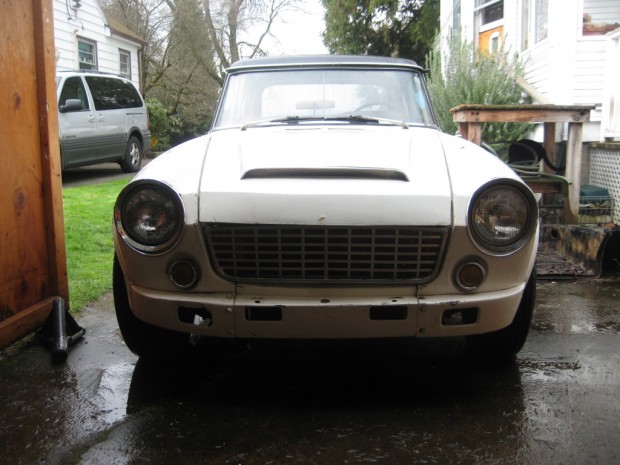
Finally everything is back in place and after all that work we have a car with new hoses, thermostat, coolant, exhaust header, refurbished heater and defroster, working AM radio and a cleaner engine bay. All set to go to the DMV and do the paperwork shuffle and get some plates! But, the DMV turns out to be closed for a work furlough! Arrggh! A long weekend passes and first thing Monday the little beast comes out of the car hole for the first time in two months.
After a little warm-up, off we go! Brakes work ok, need to bleed those. Clutch feels good. Defroster is cranking and putting nice warm air on the windshield. Wipers work. Temperature looks good, we have oil pressure… The first drive is usually a bit nerve-wracking and I gingerly drive to the DMV. $200 lighter and I leave with sorted paperwork and some generic Oregon tree plates. Now for a real test drive!
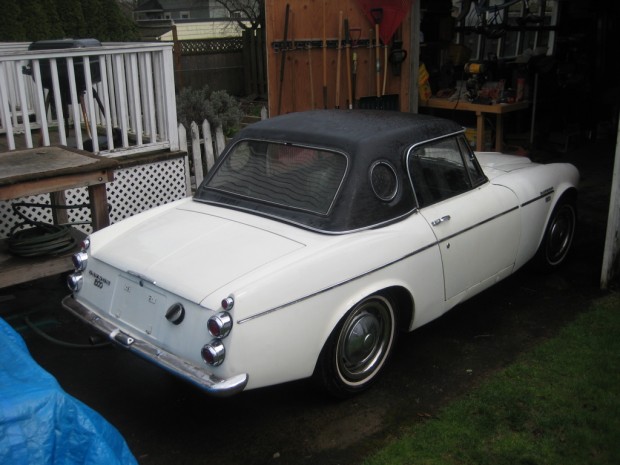
1600 roadsters are know to be quick off the line, the stock R-16 and 4-speed combo is pretty zippy. I haven’t driven a 1600 in a few years – since I sold The Rat – my ’68 1600 back-from-the-grave project. The H20 in this beastie pulls like a little freight train and keeps revving. I’m careful not to really push it right now. The comp suspension keeps the car planted – there is no body roll in the corners. The road is really wet and I’m afraid to really test the rear end, in case it decides to come around on me!
I live in North Portland and most of the peninsula between the Columbia and the Willamette is a huge industrial area. The wide-open roads are built for 18-wheelers hauling heavy loads – the perfect test track. “Scraps” does a great shake-down run. Other than some attention to fluids – burping the radiator, gear oil for the tranny and diff and a fresh bleed on the brakes and clutch, everything is pretty good! Now onto cleaning and detailing which leads to…


2 Responses to The knee bone’s connected to the leg bone